Scheduling messages brings more than just convenience. It reduces stress by eliminating the need to remember sending times, enhances professionalism through well-crafted communication, and boosts productivity by enabling efficient time management.
To schedule a message:
- Filter your audience as desired
- Expand Message Options
- Select Schedule a Job and select:
- a specific date and time
- timelapse (days or hours) to wait before sending
A pop-up will appear asking you to schedule or cancel. Click schedule and a confirmation message will appear.
To View What Messages Are Scheduled
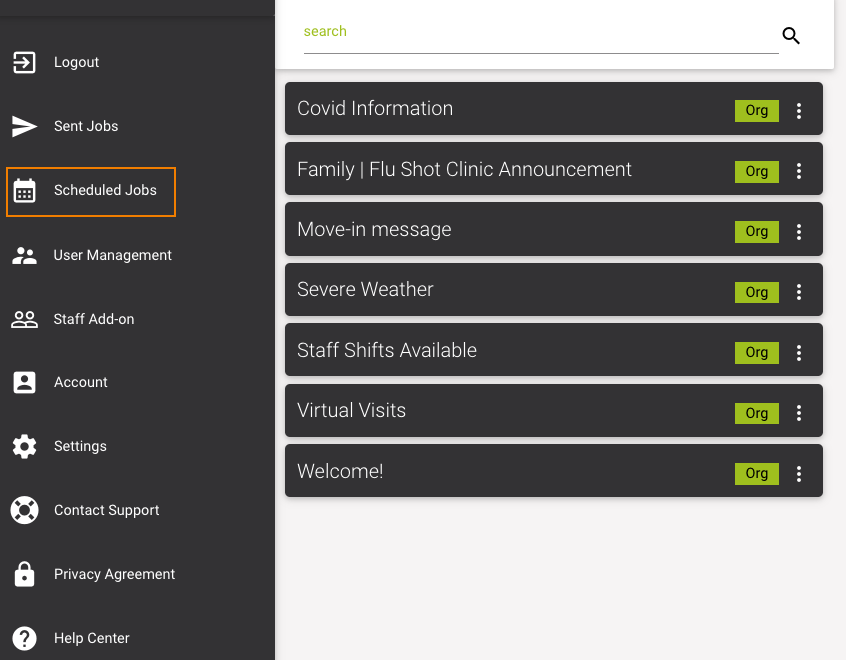
- Navigate to the Main Menu ☰ > Scheduled Jobs
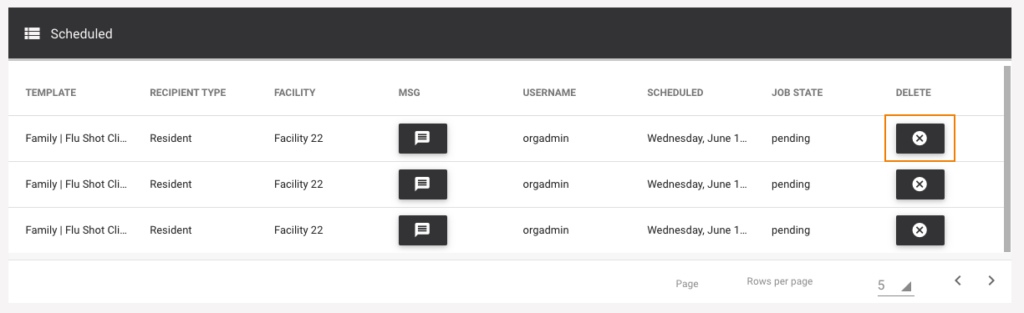
- Click the dropdown in the bottom left-hand corner and select Scheduled
- All upcoming scheduled messages will appear
To Cancel a Scheduled Message:
- Navigate to the Main Menu ☰ > Scheduled Jobs
- To cancel a message, click the X on the far right-hand side of the desired message. A pop-up will appear asking you to confirm
NOTE: There is no minimum or maximum timeframe for scheduling.
NOTE: If a message is accidentally scheduled between 10:00 pm and 9:00 am local time, our blackout feature will prevent the message from going out until 9:00 am the next morning.
When could I use Scheduled Messages?
- New resident welcome, move-in feedback and check-ins
- Resident prior-discharge notices, post-discharge check-ins
- External medical and dental appointments and transportation requests Consent for therapy or social services
- Care plan intake and reviews
- Discharge updates
- Room or roommate change notifications
- Employee onboarding surveys
- Staff satisfaction (eNPS)
- Leader reviews
- Agency/temp feedback
- Training
- Certificate/accreditation expiry
- Employee referral programs
- Employee benefit updates
- Open enrolment reminders
- Newsletters
- Referral programs
- Surveys